Today I am very happy to bring you a guest post from a lovely lady and great cook: Hanady and I met via Instagram and on our blogs; we live in such different parts of the world, but we are virtual food twins. We have literally coincidentally made the same meals, we share a love of the same flavours, we use the same ingredients, even though we reside thousands of miles apart. This is what I love about having my blog, meeting lovely people like Hanady and sharing our food loves, and so I asked her to share some recipes here on my blog, this is the first one, using my favourite grain, freekeh, I hope you like it too…have a great week x
Hello everyone! First of all, I would like to thank my friend, Elaine, for asking me to create a guest post for her blog. It is always so wonderful connecting with other culinary explorers through this platform. For many of you who are new to my blog, my name is Hanady and I’m the author behind the hanadykitchen.com site. I’m also an international affairs researcher and a human rights advocate. My relationship with food, however, has been a lifelong pursuit. As a child of Palestinian and Spanish parents, my experimentation in the kitchen often involved combining different culinary traditions. I learned that combining flavors of different worlds produced creations that were both unique and full of character. Having relocated from the United States to Palestine last year, I realized that my curiosity in the kitchen was just beginning to develop. My past year has consisted of exploring new foods and cooking styles through wonderful people, learning to cook straight from scratch, and developing recipes with a combination of unconventional ingredients.
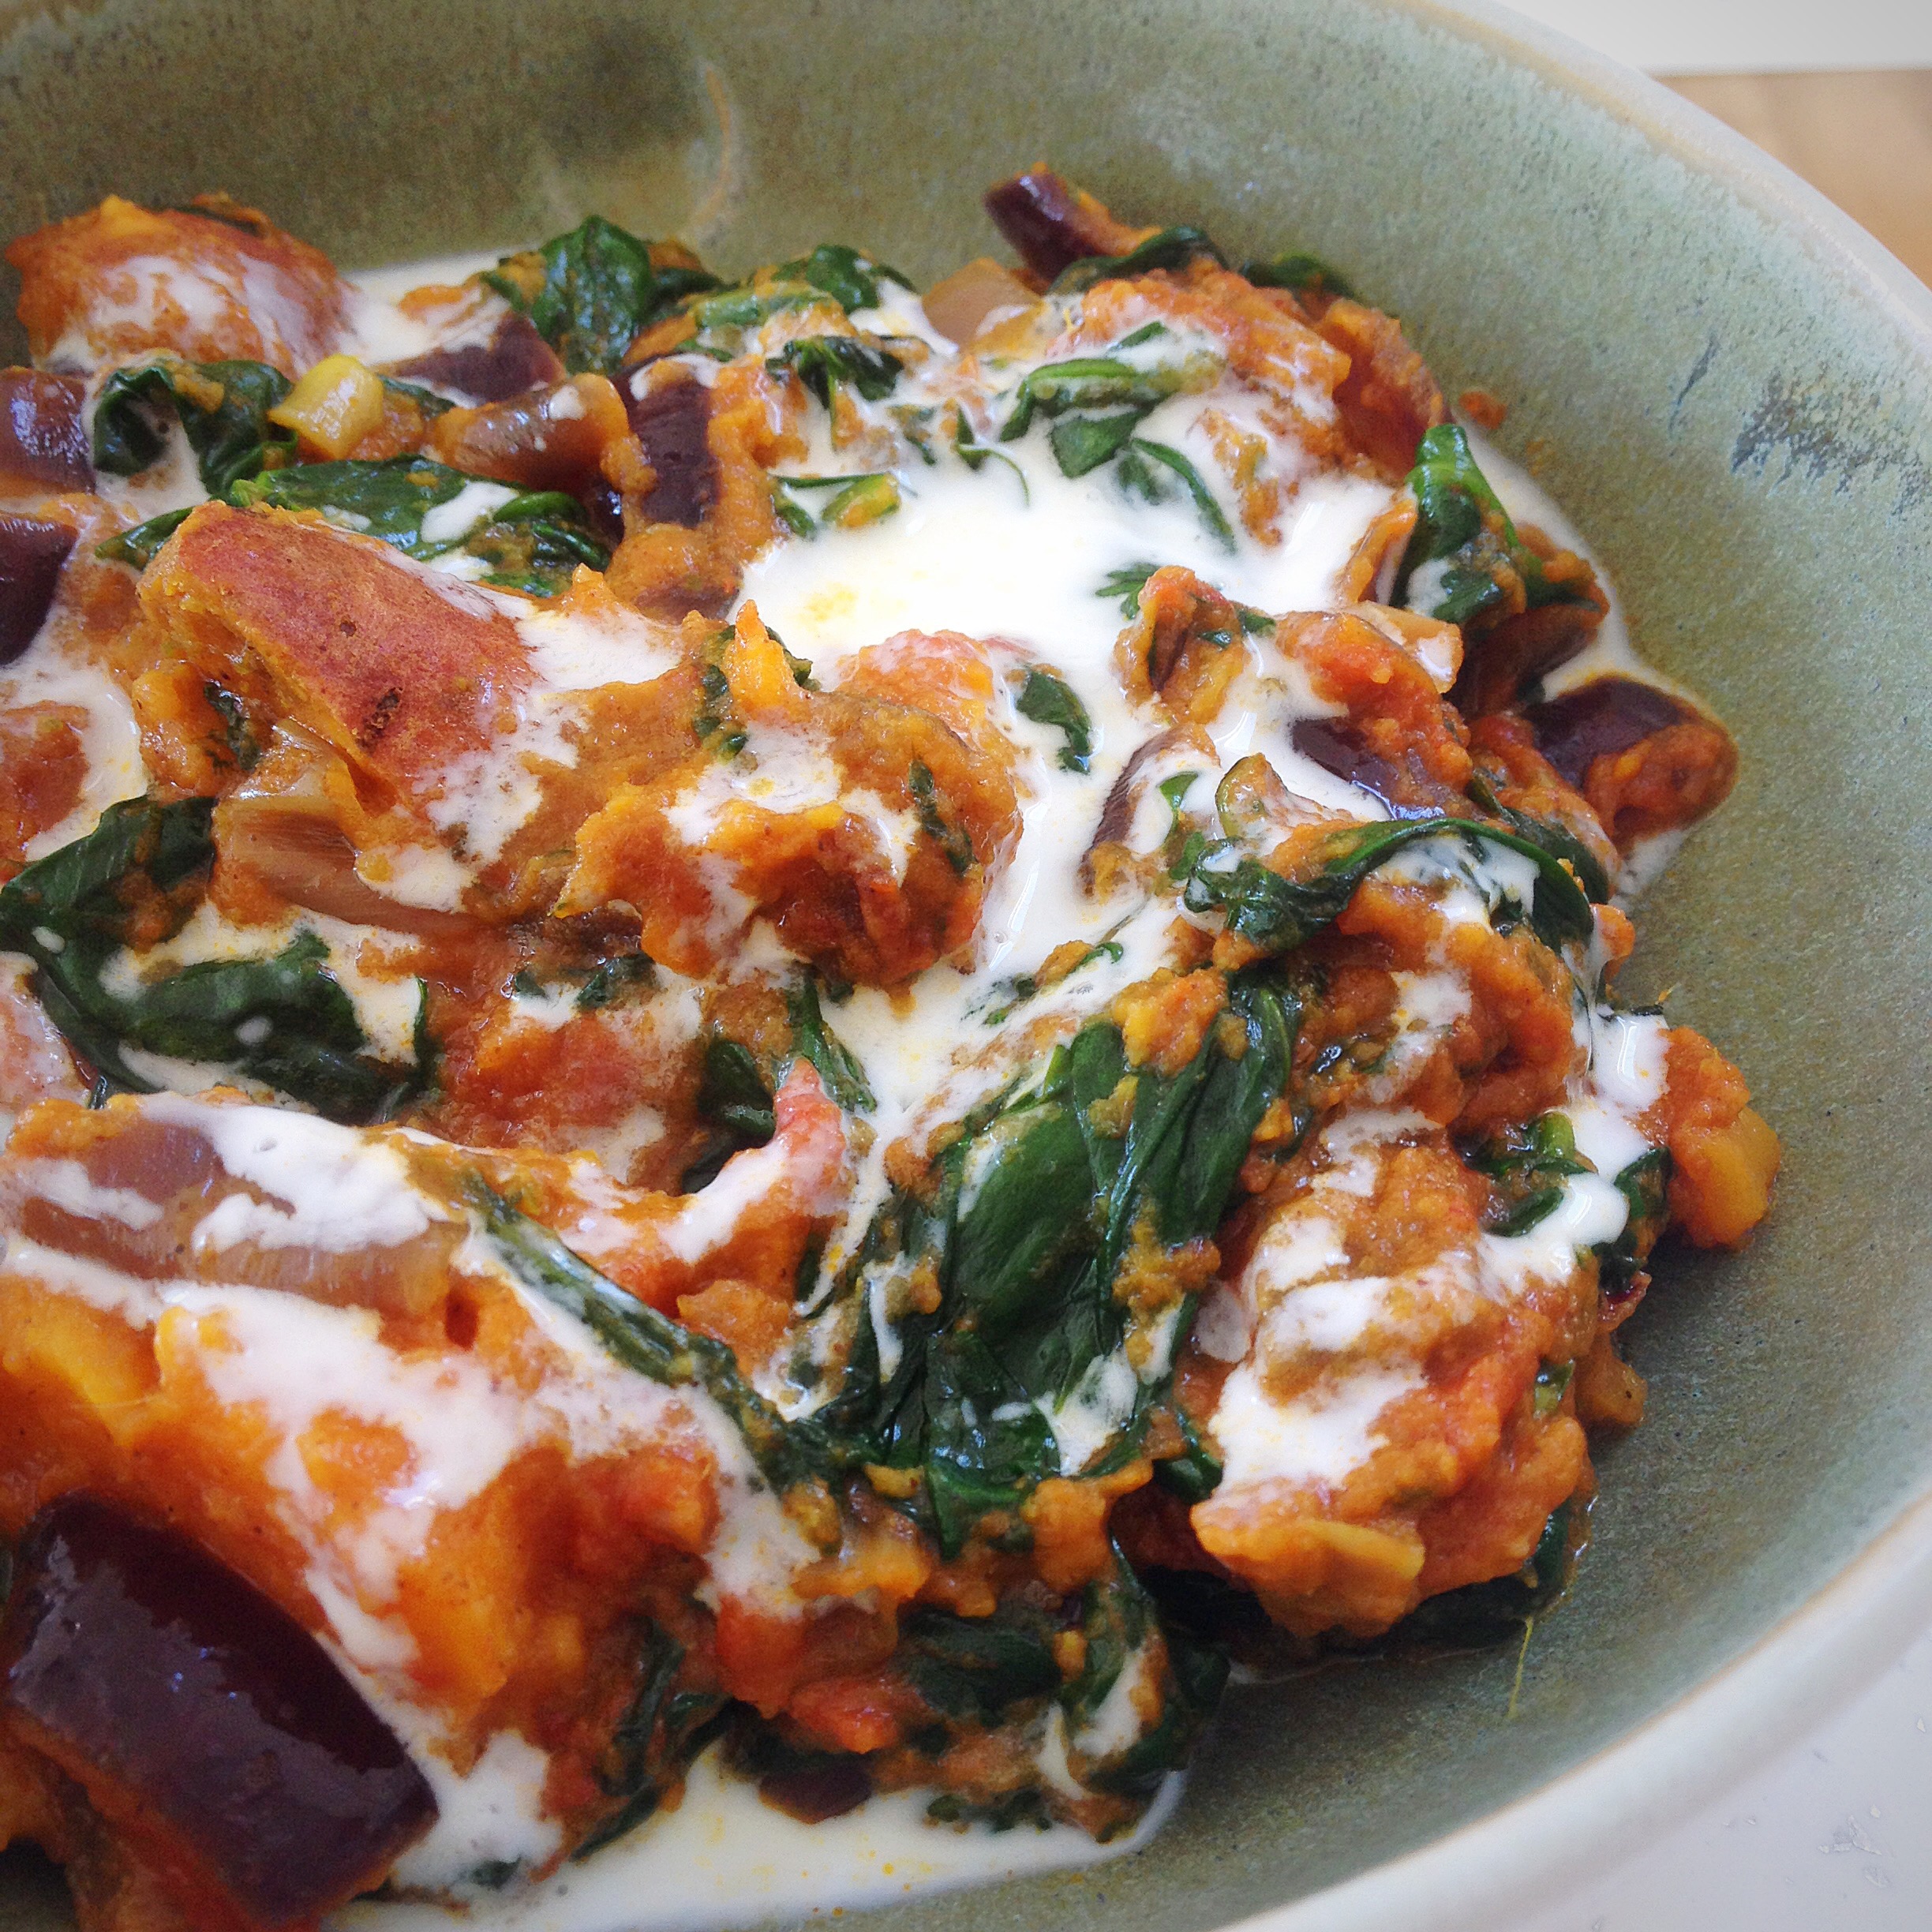
One such recipe is this okra freekeh, which is a combination of two different Palestinian dishes, okrah tomato stew and freekeh soup. While I love both dishes on their own, I find that their fusion makes for a blast of flavors. The smokiness of the freekeh, zesty sweetness of the tomatoes, and the freshness of the okra combined with aromatic spices and herbs, results in a most satisfying dish. The heartiness that the freekeh grains provide also make this recipe quite wholesome and fulfilling for vegetarians and non-vegetarians alike. I hope you will be pleased. And again, many thanks to Elaine and you all for sharing this lovely blog space. Sahtain and bon appétit!
With love,
Hanady Xx

Okrah and Tomato Freekeh
INGREDIENTS/ SERVES 3
1 large onion, finely chopped
7 tablespoons olive oil, divided
generous pinch dried chili flakes, to taste
1/4 teaspoon cumin seeds
5 cloves garlic, minced, divided
5 medium/ about 460 gr. tomatoes, very finely chopped in a food processor
2 tablespoons tomato paste
1/2 cup/ 118 ml. water or vegetable stock
loose handful fresh coriander/cilantro, chopped
1 bay leaf
1/4 teaspoon smoky paprika
1/2 teaspoon ground turmeric
salt, to taste
good grinding black pepper
1 cup/ 150 gr. medium sized freekeh kernels, well rinsed
1 bag/ 400 gr./ 14 oz. frozen okra, slightly thawed
METHOD
Sauté the onion, chili flakes, and cumin seeds in a large saucepan with 3 tablespoons olive oil over medium-high heat for 5-7 minutes or until the onion is soft and transparent. Add 3 minced garlic cloves and stir for another 2-3 minutes.
Pour in the tomatoes, tomato paste, water or vegetable stock, and stir in fresh coriander, paprika, turmeric, bay leaf, at least 1/2 teaspoon salt, and pepper. Bring to a simmer, cover, set the heat to low, and leave to cook for 15 minutes.
In the meantime, pour the freekeh into a medium pot with 2 cups / 470 ml. boiling water. Stir in at least a half teaspoon salt, bring to a simmer, cover, and leave to cook for about 15 minutes over low heat or until al dente.
In another hot saucepan, sauté the the okra over high heat with 4 tablespoons of olive oil , salt, and 2 minced garlic cloves until tender and golden, about 10 minutes.
Stir the okra into the tomato sauce and cook for an additional 5 minutes, stir in the cooked freekeh, and serve. Top with yogurt for some coolness and balance.


 I LOVE leftovers; to me, leftovers, or foods eaten a day or two after cooking/preparing them, taste vastly better than they did on day one. Flavours develop to create something so good that I pretty much always plan for leftovers and extras…
 These are what Petra sent me to try…lucky me! The two bottles that you can’t see the labels on are a ‘very hot hot sauce’ and a sweet chilli ginger sauce.
 If you can try this stuff, you really should! Included in the ingredients are cobnuts which give the chutney a great texture. But the rest I played with today…
 So to today’s pimping…this was my lunch platter…
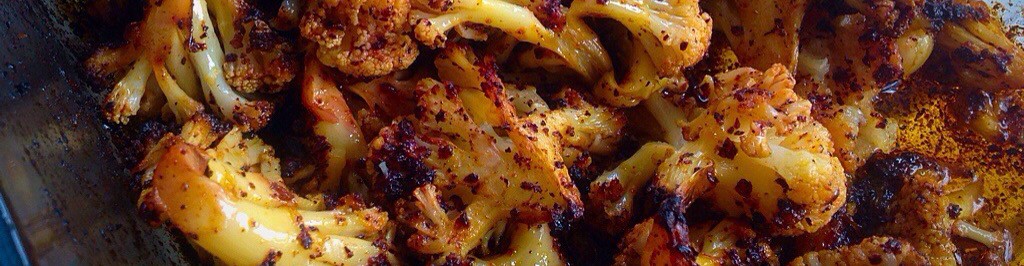
 Leftover broccoli & cauliflower, blended with yoghurt, crunchy hazelnut butter & Petra’s sweet chilli ginger sauce which added great flavour to the vegetables.
 My homemade garlic mayonnaise pimped with Petra’s very hot hot sauce – perfect pimping.
 Leftover roasted carrots & red onions blended with tahini, yoghurt & lemon juice…so good, the lemon juice and roasted carrots always works well together.
 Fresh flat leaf parsley & coriander chopped up with my pickled garlic, spring onions, ground cumin, Aleppo chilli flakes, salt, olive oil, my homemade apple cider vinegar & Petra’s caramelised Seville orange & chilli treacle – I often add pomegranate molasses to my salsa verde concoctions and this was a great alternative.
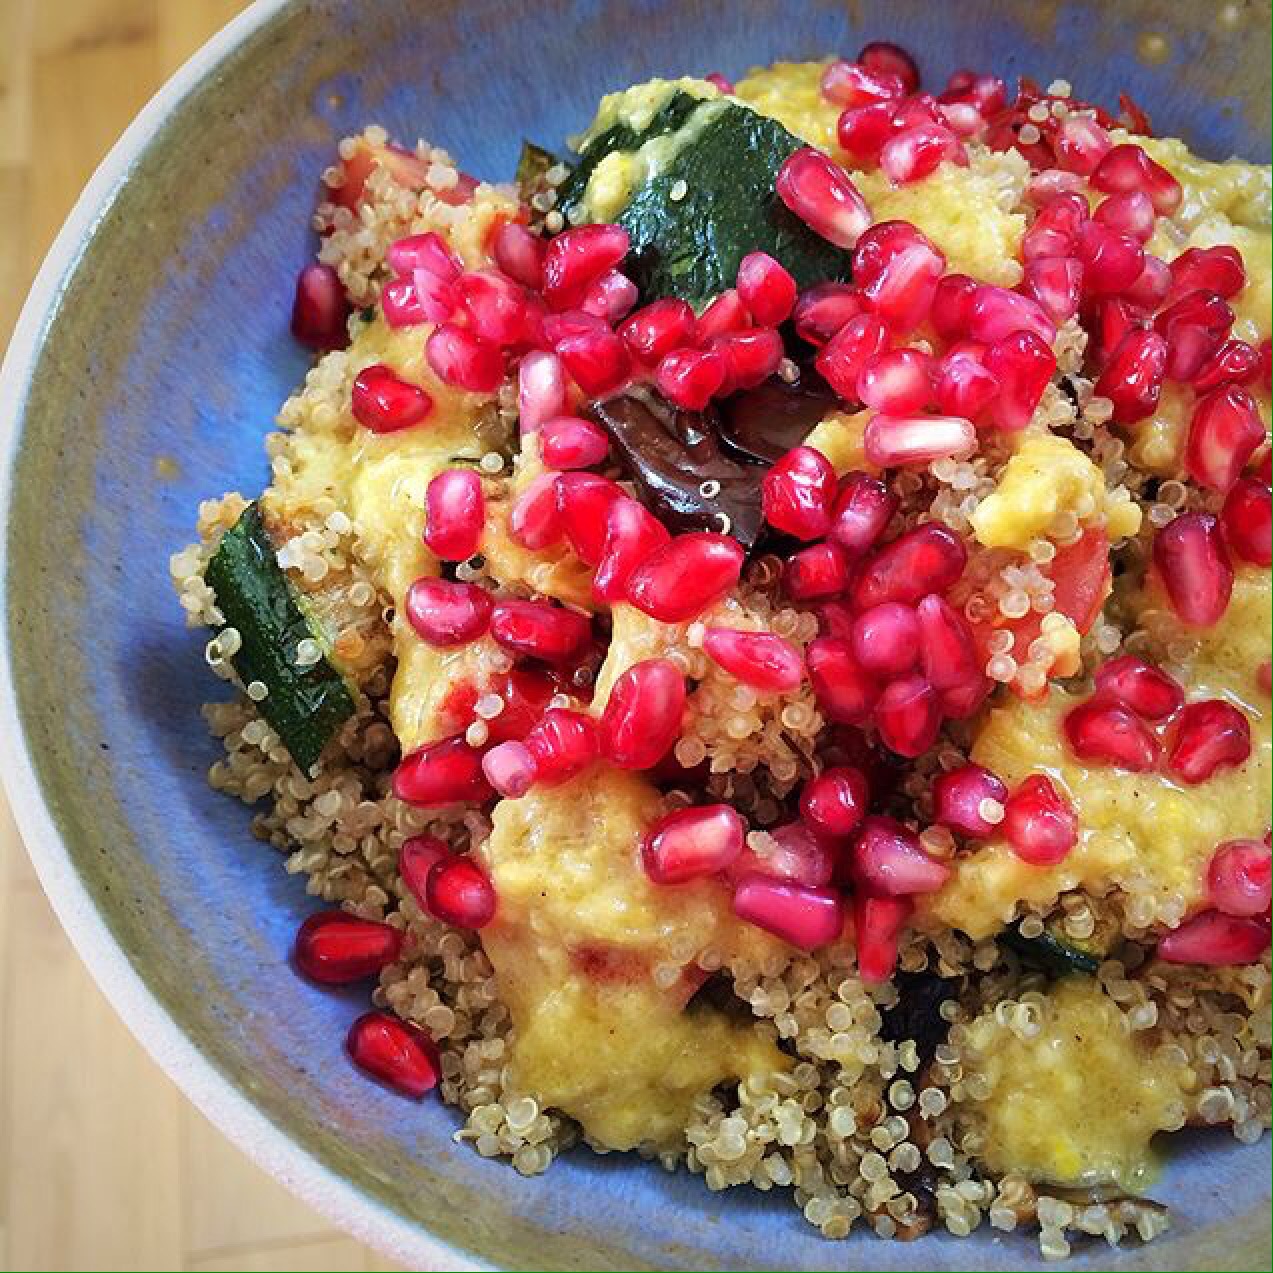


 I haven’t brought anything to