Category Archives: Snacks

Roasted cashew and marmite nut butter..

Having recently fallen in love with marmite peanut butter and used it in some recipes, I decided to see what I could create of my own version.

Please note: Making nut butters requires a sturdy food processor as it can take some time for the nuts to ‘give’ and become a paste. It’s easy for motors to get burnt out!

For this concoction, I roasted some cashew nuts myself, then kept a portion back to be able to add them later and keep some crunch in the mixture. I also needed to add some oil to loosen the mix so I used a relatively flavourless rapeseed oil.

Be warned if you do make this, it’s very tasty!!! And very easy to eat 😄😄😄😄

Ingredients

400g roasted cashew nuts

Marmite

Rapeseed oil

Method

In a blender, start blending 300g of the nuts. It will take quite a while before it starts to become a paste, 5-10 minutes. Add 2-3 teaspoons of marmite once then nuts do become a paste, the amount will depend on your tastes.

You may find that the added marmite stiffens the mixture, so this is when to drizzle in some oil to loosen it again.

Next add the remaining nuts and blend briefly to create a crunchy finish.

If you prefer a smooth paste, add all of the nuts at the beginning.

Use as you would marmite peanut butter, or any nut butter or spread.

I did the same with some roasted hazelnuts…which worked equally well!

Enjoy!

Protein balls…

These little moreish balls of protein packed goodness were made from a collection of things from my cupboard to provide some quick nutritious snacks for my sportsmen…

I’m afraid I didn’t weigh anything but as a guide the greatest quantity was made up of oats, followed by milled flaxseeds, chopped roasted hazelnuts, roasted mixed seeds and cacao nibs, with a good portion of honey and lots of peanut butter.

I mixed it all up as thoroughly as possible in the biggest bowl I have, then place it in the fridge for an hour.

After the hour it was all firmer and starting to stick together; I rolled small handfuls of it into little balls, pushing them together as firmly as possible.

If it felt some of the mix was a bit dry, I added in some more peanut butter and kept making little rounds.

They’re so tasty, very moreish in fact! And great snacks for before or after sport. They need to stay in the fridge to hold their shape.

Throw in whatever you fancy and get rolling 🙂

Happy snacking!

Wild garlic flower oat cakes…

I fancied some oat cakes recently, I have no idea why, I haven’t had an oat cake for years, but sometimes something just takes your fancy doesn’t it?

So I decided to look up some recipes and see how to make them myself. There’s many recipes if you search for them, all with their slight variations; I read a few, got the basic idea, and devised my own plan.

I have continued foraging for wild garlic this week, in particular for the flowers; the plants are now flowering like mad and I think they’re so very pretty, as well as being tasty. I’ve collected them to use raw in and over dishes, and I’ve dried some in the oven for other experiments, so when I was pondering oat cakes, wild garlic was still very much on my mind.

For the first batch I made, above and below, I added crumbled, dried wild garlic flowers to the oat dough, as well as pressing dried flowers into some of them.

In the second batch, below, I added some dried and crumbled wild garlic leaves and added some non dried flowers instead to see how they would fare..

I also made a version with added sesame and pumpkins seeds, which worked well too, just not as pretty 😉

So whether you fancy some plain or pimped, here’s the recipe I used:

Ingredients

200g oats (I’ve used thick Scottish oats)

1/2 – 1 tsp salt to taste

50ml olive/rapeseed oil

A few tablespoons of boiling water

Method

Preheat your oven to 160C fan, 180C.

Line 1 large or 2 medium baking trays with baking parchment.

Put 100g of the oats into a mixing bowl, and the other 100g into a blender and run it to make a fine oat flour.

Add the oat flour & salt to the whole oats and add any extra ingredients that you want to add: a handful of seeds, some herbs, spices, chopped nuts…the possibilities are endless.

Drizzle over the oil.

Add 2-3 tablespoons of hot water and start to mix it all into a dough, add extra water as necessary to bring it into a usable dough.

Generously flour your work surface and roll the dough out to about 3mm thick.

*This is the point at which I pressed the flowers into the oat cakes.

Cut out the oat cakes with cookie cutters, I used 6cm and 8cm diameter ones.

Use a palette knife or fish slice to lift the cut rounds onto the parchment paper.

Bake for 25-30 minutes, turning once halfway through.

*The time required to bake them may change depending on how much water you’ve added and what additional ingredients you’ve included.

Assess the oat cakes yourself to ensure they are as cooked and crunchy as you want them to be.

Allow them to cool to harden further.

Enjoy them on their own or adorned with whatever topping you like.

Store them in an airtight container. Mine softened after a couple of days but they were still good and the wild garlic flavour worked well.

My weekend brunch.

I hope you have fun with some oats cakes!

Little bread ‘fantails’…

I had never heard of fantails before this week when I saw an image of an amazing little bread creation on Instagram; of course, I immediately searched it to see what it was and how to make my own and found this method using a muffin tin. I then made two batches two days running this week, of course, you wouldn’t expect anything else would you?! I made a cheesy version and a garlic butter version. They look so cool and are incredibly simple to make, and got a big thumbs up from my master bread taster 🙂

You could also use mini loaf tins to make them with a smarter finished edge if you have them.

You can really use any basic bread recipe, it’s the assembly that’s the key, but I’ll let you know how I made my dough too. I only used a small quantity of dough, it can easily be doubled.

My basic dough recipe:

250g strong bread flour

150g warm water

1 tbsp olive oil

1/2 tsp salt

1tsp dried yeast (can be quick or easy bake yeast)

Measure out the flour into a large bowl, sprinkle the salt and yeast over the flour and pour in the water and oil.

Bring it together with your hands and knead in the bowl for a few minutes until smoothish.

Cover the bowl with a plastic bag and leave the dough to rise for 2-3 hours, depending on the warmth of your kitchen, until it has doubled in size.

Line a muffin tin with baking parchment squares.

Once you have proved your bread dough, punch it done if necessary, remove from the bowl and place onto a floured surface.

*At this point you can fold in some grated cheese, herbs, aromatics, whatever you like.

Roll the dough out to as close to a rectangle as possible, to a thickness of a couple of millimetres.

Cut the dough into even strips. I used a pizza cutter to do this.

Brush the dough strips with melted butter then stack them on top of one another. For the garlic butter version I brushed the layers with homemade garlic butter.

Cut into even sized mini stacks.

Place the stacks cut size down into your lined muffin tin and spread the leaves apart a little bit if possible.

Hopefully these photos will help…

Cover the whole muffin pan with a plastic bag and let the dough prove once more for up to an hour.

Brush them with melted butter and bake in the oven at 200C for 15-18 minutes until golden and cooked through.

I brushed more garlic butter over mine whilst they were warm.

They are lovely fresh from the oven, they were also good the next day, and reheated well in the oven for 5 mins.

Great fun to make and eat really! I’m sure they’d be fun to make with kids.

I hope everyone at this week’s Fiesta Friday enjoys my fantails!

Roasted persimmons…

I don’t have much imagery for this post, in fact, I can only offer you one photo; but I can elaborate verbally about this dish and hope that I capture your imagination…

Back in December, I came home from Costco with a box of persimmons, like you do, then realised that I was never going to be able to eat them all myself. I rarely eat fruit as it is, so 6 huge persimmons seemed like a mountain of fruit to me. Plus when I tried one, it wasn’t wholly ripe, or tasty. So I tried roasting some; why not, it works for vegetables, I thought it might perk up my persimmons.

And it did. The slices caramelised and sweetened. I tried some with some tahini sauce, a bit of yogurt and some toasted flaked almonds, and it made a perfect sweet treat…probably just a bit too sweet for me, so the yogurt and tahini were perfect ways to tone it down…

Following this experiment, over the festive period I decided to offer this as a dessert choice for my visiting family.

I cut the persimmons into segments, tossed them with a tiny amount of olive oil, then roasted them for 30-40 mins at 200C, moving them around the pan halfway through. Served with yoghurt, they provided a perfect alternative dessert.

The leftovers lasted a couple of days and were just as nice cold, again with yoghurt and another day with my porridge.

I highly recommend roasting your persimmons! I should imagine they are similar to roasted plums or peaches in consistency, and just provide something different 🙂

I shall be sharing this with everyone at this week’s Fiesta Friday, co hosted this week by Shinta and Diann….it’s been too long since I joined in!

Savoury granola..

Apparently savoury granola is all the rage…who knew? Not me!! Apparently it’s all about creating a sweet and savoury element, hence, the recipe I read using soy sauce and maple syrup together..

Having read this in a current food magazine, I decided on a whim to make some last weekend, I always have oats and seeds and nuts of some sort in my cupboards, so it was easy to throw stuff together; however, I don’t like maple syrup or honey, and I’d rather just go for full on savoury, so I skipped any sweet element at all for my taste. 
My mix therefore included oats, pumpkin seeds, sunflowers seeds, linseeds, black & white sesame seeds, cashew nuts, fennel seeds, chilli flakes, olive oil, soy sauce & egg whites. This was all mixed well together then baked at 160C fan for 15-20 minutes, shaking & stirring it up halfway through to stop it all sticking. (Pretty much how you’d make any granola, just without the sweet sticky stuff.)

The challenge was then to leave it to cool! I have to admit that I did pick at it whilst it was warm, but the actual magic happens when it cools down as it then becomes crunchy, and the nuts harden up. 
And I liked it. It was indeed nice and crunchy, and without that excessive sweetness that often comes with granola, that puts me off it. I’ve eaten it on its own, with yoghurt, and with finely chopped apple & Greek yoghurt, and it all works. It would probably be good with salad or roasted vegetables, it’s just a case of viewing granola in a different way. 
If I made it again I’d probably add some different nuts too, maybe try leaving out the chilli flakes, add more fennel seeds and add in other warm spices. I think it would be good with my chai spice mix, or other mixes of spice seeds like caraway, anise, cumin and/or coriander. 

The possibilities, as they say, are ENDLESS! 

I wonder what Mollie and Ginger will make of my offering at this week’s Fiesta Friday

Spiced coconut chips..

I’ve been play in my kitchen…nothing new there, I know…;)

This time it’s been with coconut chips. 

I don’t eat crisps or chips (whatever you call them in your part of the globe) but if you’d like an alternative option to those fried potato morsels, give this a go, if you get the flavouring right, I’d challenge you to miss your usual crisps, and you’ll have a healthier version.

It all started with a big bag of raw coconut chips, which I toasted in the oven:

I laid the chips out in a single layer on my oven tray then put it in the oven at 180C. To be honest, the oven could be set a bit lower and I think it would still have been fine. You really need to watch them, they toast very quickly so you need to stay on hand to take the tray out, move the chips around, then put the tray back in the oven and keep doing this until they’re all toasted how you want..

Whilst they’re warm, they remain soft. As they cool, they get nice and crispy, and they’re good just like that. 

However, whilst they’re warm is the perfect time to toss them with your chosen flavouring, then leave them to crisp up and take on the spices. 

I mixed some of the chips with my chai spice mix…

…some with my rose harissa spice mix…

…and (no individual photo) some with my barbecue spice mix from my previous post (which I’m very proud to say has been featured on this week’s Fiesta Friday picks).

They work REALLY well, if you like barbecue spiced crisps, this combination is a winner, the harissa ones are good too, and the chai spiced ones are a great addition to your breakfast. And if you don’t like coconut, don’t be put off, to be honest, you don’t really taste it! 

I hope you like my creations, happy Friday and happy weekend!

Pimp Your Veg part 3: crispy crunchy oven baked vegetables  

 Welcome to your weekend 🙂  I hope you are enjoying my Pimp Your Veg series so far and have maybe tried roasting some veggies or spicing some up?  

This week I have been baking very thinly cut vegetables to create some crunchy snacks..

As you may recall this series was partly inspired by a friend of mine who is on a weight loss journey, and I know very well that given the choice of snacking on a piece of fruit or grabbing a bags of crisps, he’d want the crisps every time, so I’m hoping this might provide a healthier option…

I also know that when you make changes to your diet, one of the things you miss is a ‘crunch’ in your food; if you’ve been used to eating crisps/chips, biscuits, crackers, sweets etc when you start to replace them with fruit, salad and vegetables, you sometimes miss something to get your teeth into. So how about some sweet potato or butternut squash crisps? Or potato peel snacks? Or carrot crunchies?

Sweet potato 

Butternut squash 

Potato peels 

Carrot

The key to achieving all of these goodies is in creating thin slices; these then bake nicely into crispy pieces.  

I tend to leave the skin on the butternut squash and sweet potatoes, and the potatoe peel is literally the peelings from potatoes I was using for something else. 

For the carrots I used a vegetable peeler to create the thins strips. 

Method

Preheat your oven to 180C

Line your baking sheets with foil

Spray a thin layer of oil on the foil 

Place the slices of vegetables in a single layer and spray the tops with oil

Bake for 20-25 minutes, turning halfway through

Watch them carefully so that none of the pieces get overcooked, remove thinner pieces of that are getting too done

Thicker pieces won’t necessarily crisp up as much as the thinner ones, but they will still be tasty!  

  
The key to getting them to crunch up is in having the willpower to leave them for a few minutes once they have come out of the oven and they will crisp up For the carrots: massage some oil into the strips and bake for around 10 minutes, again, watching them carefully and agitate halfway through, then leave to crisps up before serving.

The crunchy curly pieces that this creates are great for adorning any dish and making it look ‘chefy’ or to entice children to eat carrots.

Options

You can really pimp these by sprinkling them with salt, and/or herbs and spices prior to baking..

These butternut squash slices are sprinkled with salt and chilli flakes. 

These potatoes peels were sprinkled with paprika prior to cooking, and these I actually grilled..

  Try this with parsnip, beetroot, basically any root vegetable. Just make sure to keep a check on the oven as they bake.

The ‘crisps’ will remain crunchy for long enough to enjoy them; if you have leftovers, they will soften up, but you can re-crisp them in the oven quite easily. 

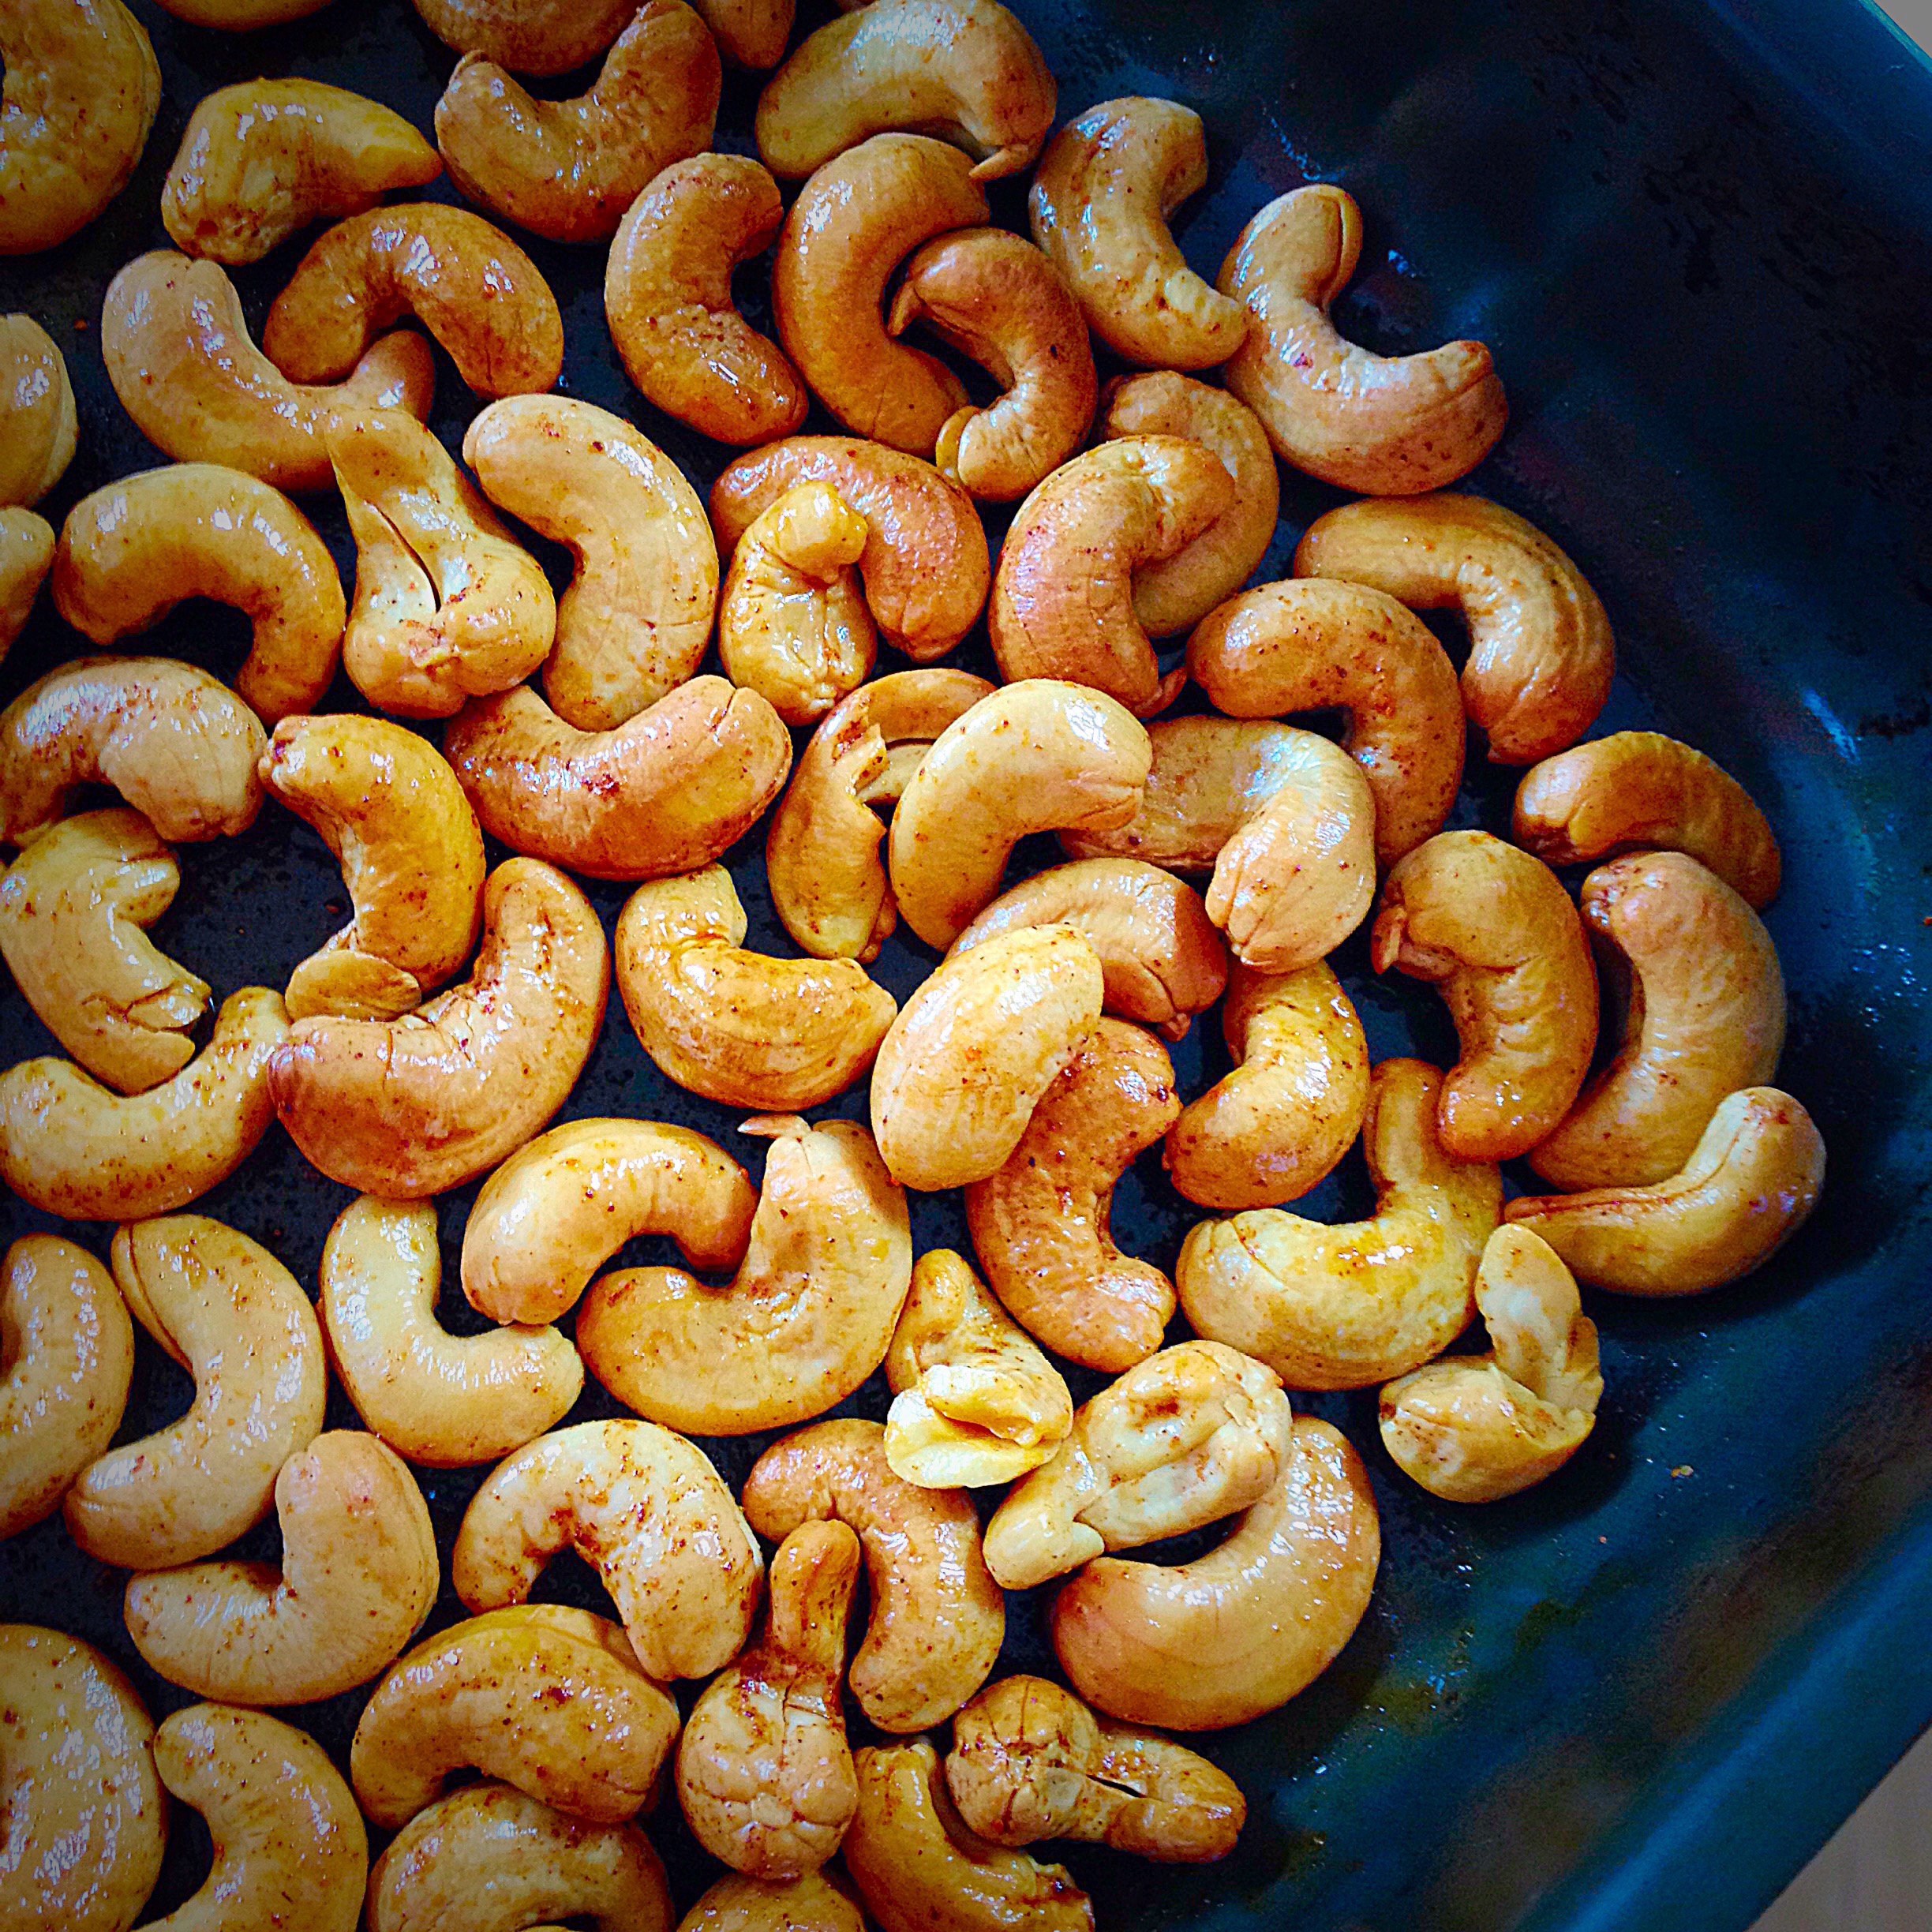
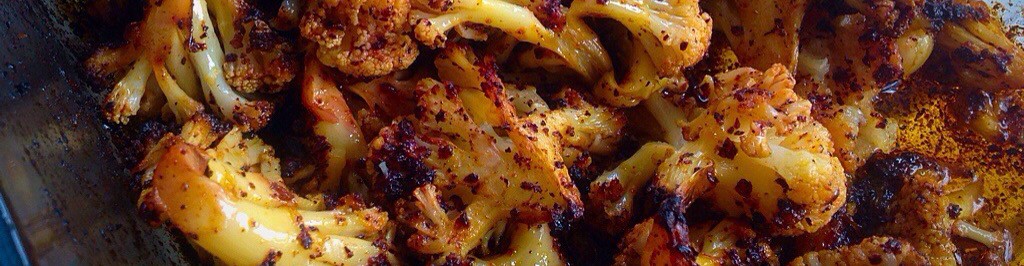
I hope this provides some interesting ideas, maybe for some weekend snacks? And just for the fun of it, this is a photo of some of the roasted veg from our dinner last night..I’m bringing my vegetable crisps to this week’s Fiesta Friday, hope to see you there, have a great weekend x 

Spiced nuts..

 Whilst I’m on the theme of spices, I thought I’d share my recent spiced nut adventures..

This week I made roasted nuts with my rose harissa spice mix, some with the Mexican spice mix from www.spicekitchenuk.com,  some with garam masala, and finally some cashews with chilli powder.. 

To make your own spiced nuts, start with raw nuts; 

Heat the oven to 190C and spread the nuts on a baking tray in a single layer;

Roast until they start to brown;

Keep checking them and move the nuts from the outside edges into the middle and around the tray so that none of them get overdone; 

Whilst they roast, pour 1 tablespoon of olive or rapeseed oil into a bowl and stir a tablespoon of your chosen spice mix into the oil – of course, this may vary depending how may nuts you’re roasting, you need to gauge it yourself; resist the temptation to use any more oil, the oil is only to help the spices stick to the nuts and too much will make the nuts greasy;

Once they start to brown, take the tray out;

Mix the nuts with the oil and spices then put them back on the baking tray and back in the oven for another 10 – 15 minutes or until you feel they are sufficiently done. 

Depending on your tastes, you may wish to add a sprinkle of salt. 

* Don’t put the spices in right from the start of roasting the nuts or you could burn the spices and they will become bitter. 

Mexican spiced 

Chilli cashews 

Garam masala spiced 

Rose harissa spiced 

    
  I thought I was making these rose harissa spiced nuts below for me when I first made them and suddenly my boys had eaten the lot! That’s success in my book 🙂  

Enjoy!

Happy Sunday x

Spiced spinach, buckwheat & cheese baked flatbreads/pancakes/pizza bases…

Welcome to Friday!!! Or…depending where you are, I hope you’ve had a good Friday and a good week? Let me share with you a recent creation from my kitchen..colour, goodness and flavour all in one go..

Basically, these concoctions could be used for so many things, hence the title…what they truly are, are tasty, healthy rounds of goodness that you could eat on their own or as a base for something else..

It all began with some leftover cooked buckwheat groats, a bag of spinach and some cheese…
Ingredients 

250g baby spinach

1 cup (when uncooked) buckwheat, cooked

80g mature cheddar 

Harissa spice mix – I just threw it in but probably around 2 heaped tablespoons would do – and if you don’t have this spice mix, throw in any spices that you like 

Method

Blend it all together in a food processor then place in a bowl to use immediately or refrigerate for later

Preheat the oven to 180C (160C fan) 

Press several spoonfuls of the mixture onto silicone paper sprayed with olive oil until about 2mm thick

Bake for 15-25 mins until you start to see the edges dry out

  
  Above shows before cooking..

Below shows after cooking..
  They should happily slide off the paper or you should be able to turn out onto a plate in one piece 

I spread various dips and sauces over mine and ate them like pizzas..

But they would be good with just melted cheese, or a tomato sauce and cheese, or so many other things, or just eaten on their own..


I was so pleased with these and I had made enough of the ‘dough’ to enjoy them for a few days 🙂 sometimes, leftovers make the best meals!! Plus, the flavours developed further over a few days so maybe these are best made ahead anyway? 

I am bringing these babies to this week’s Fiesta Friday, I missed last week’s, so look forward to seeing everyone this week 🙂