
 This loaf of bread was created with yeast cultivated from an apple and a jar of water…
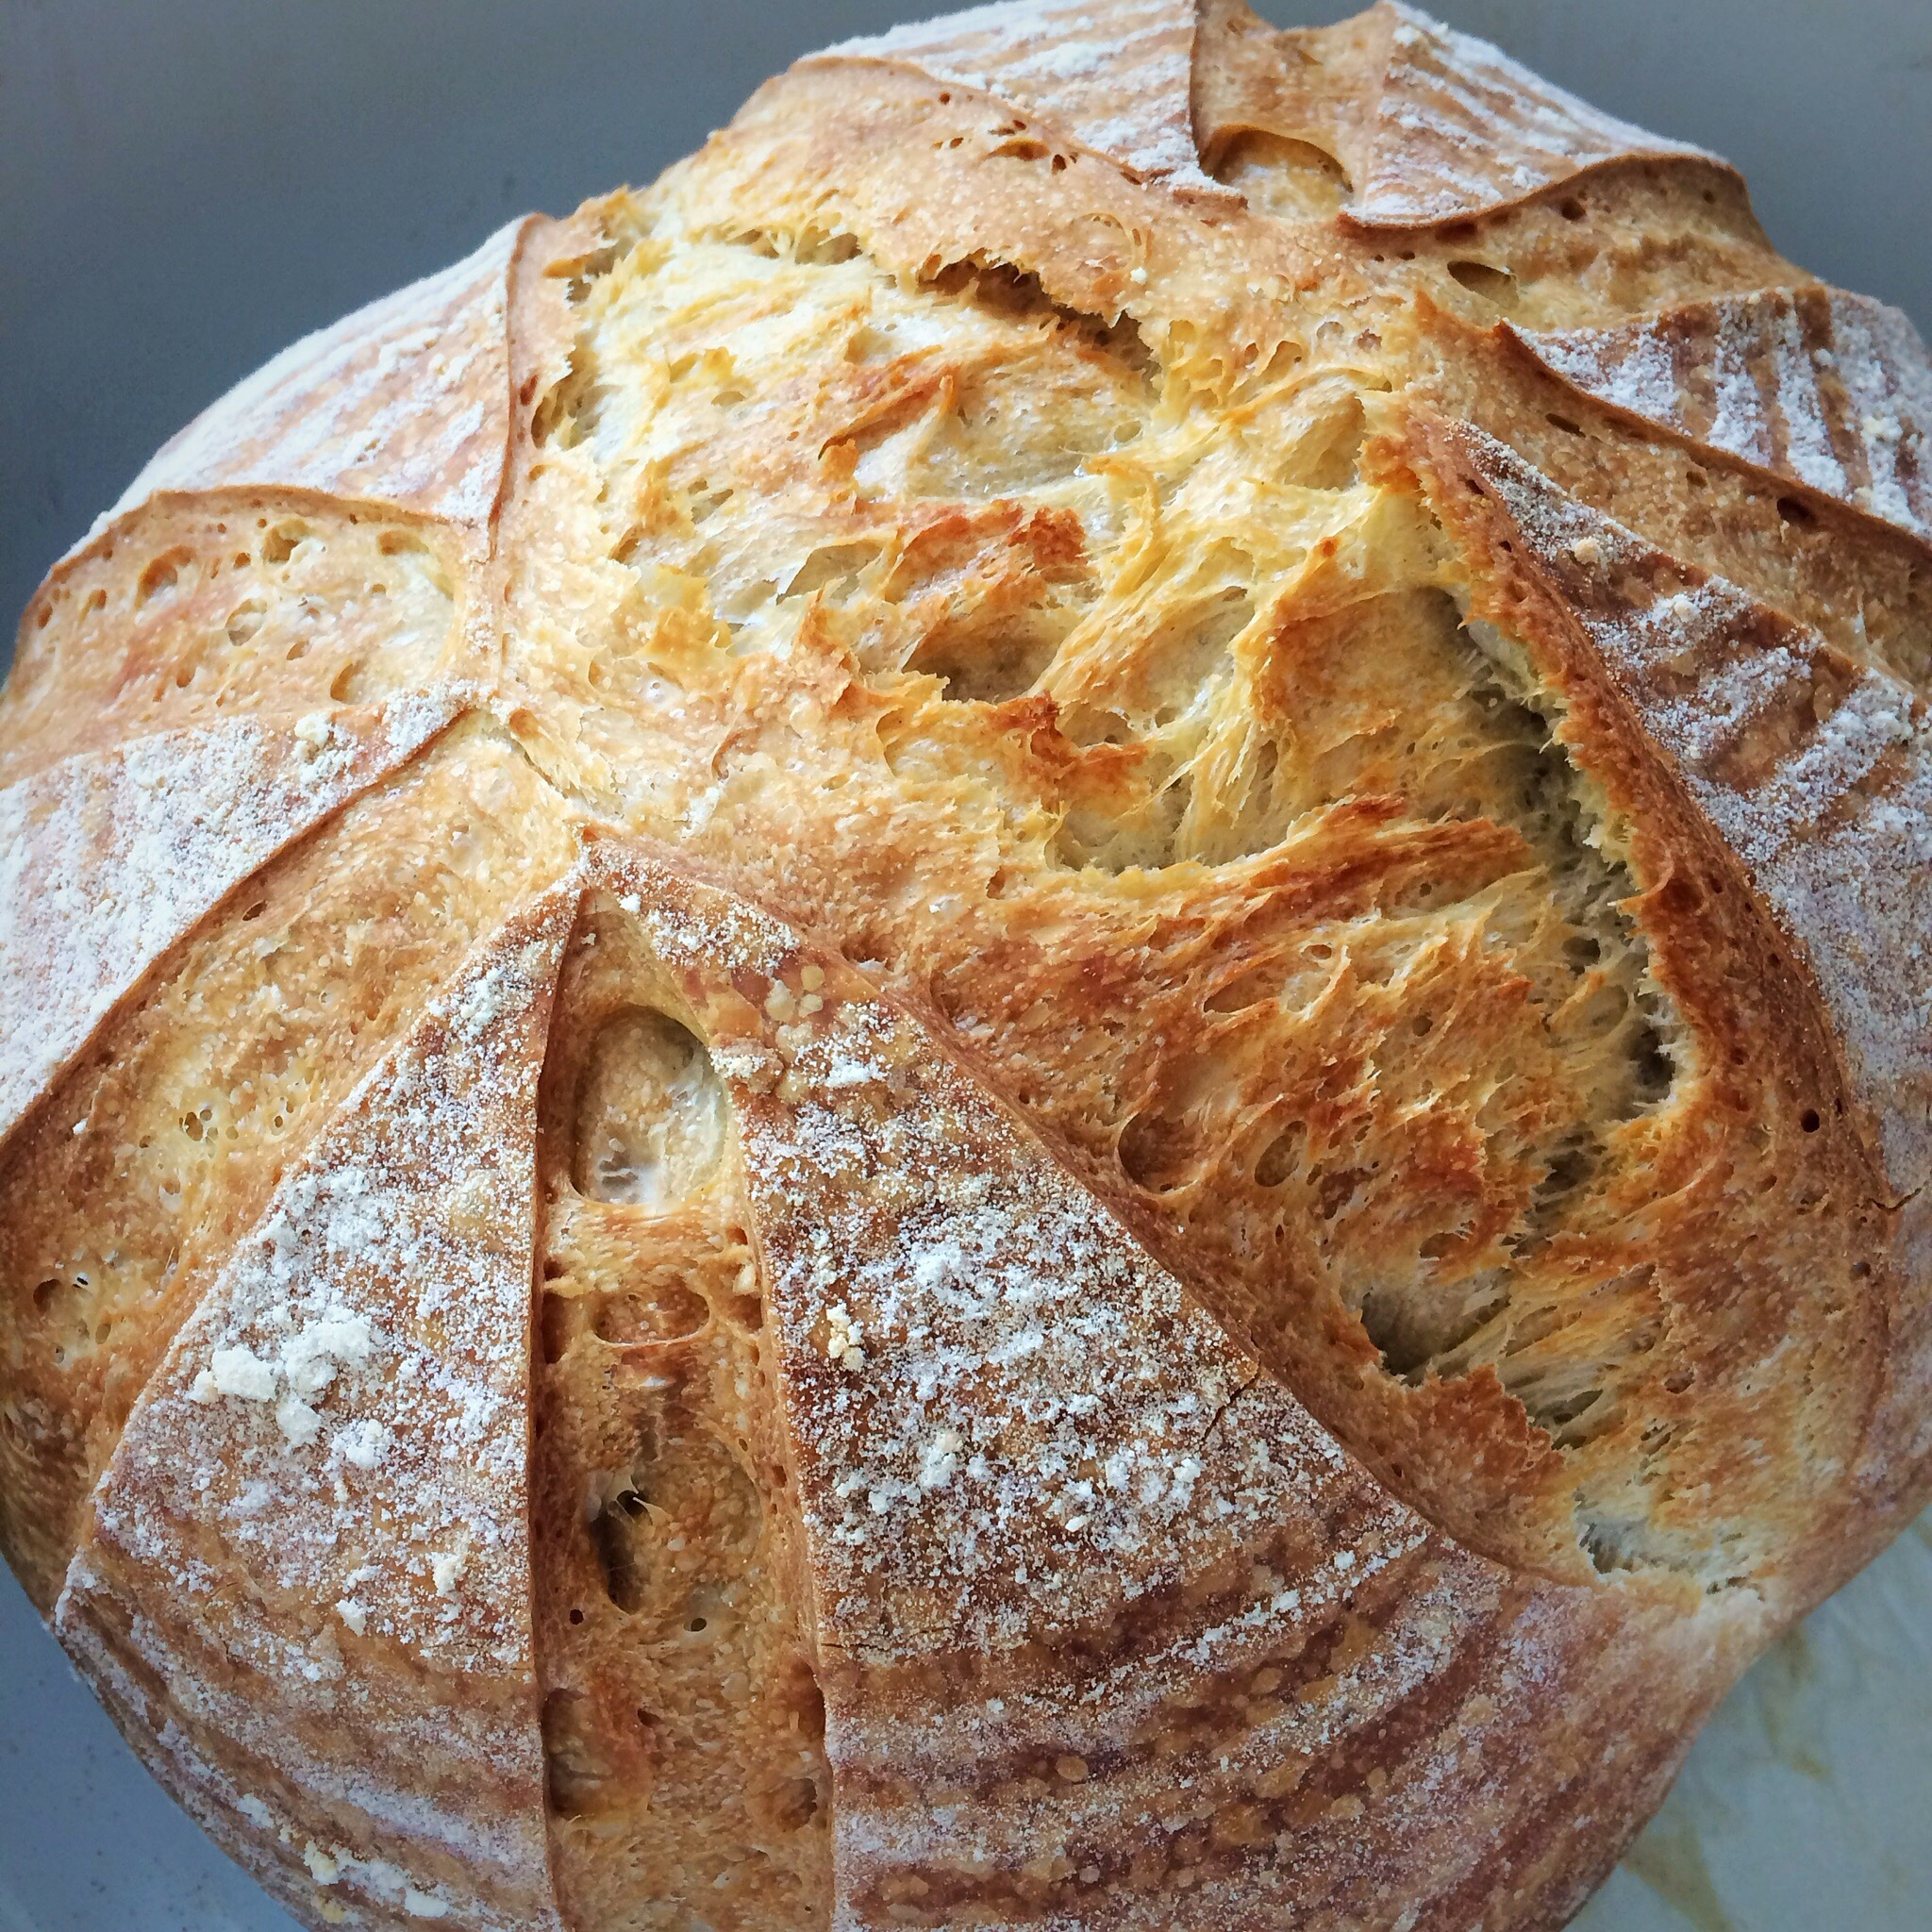 …and so was this one…how cool is that???
I saw a mention of yeast water on Instagram so set about investigating it and discovered it’s all about capturing the natural yeast in fruit, and literally, all you need is fruit and water. I didn’t find any hard and fast rules, just people talking about what they’d done, so I took the ideas and had a go myself.
I washed an apple (to remove any nasties), cut it up, then put it in a jar with water. The jar was clean, but I didn’t sterilise it; I used water from the tap because I know that our tap water is okay for my sourdough starter, so I assumed it would be okay for this. You might need to boil and cool some water if yours is heavily chlorinated.
And then I left it, for a week. Initially I thought nothing was happening, I gave it the odd shake, and left it to brew, then the water got cloudy and bubbles began to appear, and eventually the water looked as ready as it might be to my untrained eye…
 I then mixed equal parts of water with strong bread flour and left it overnight and this is what happened…
 Lovely bubbly starter! I guess you could call it a starter or a biga or a poolish, it’s basically flour and water and yeast to create the base of a dough, but in this situation the yeast is wild yeast from fruit. It smells sour like sourdough starter, and acts in pretty much the same way.
Having read about raisin water, halfway through the week I also filled another pot with a handful of dates and some more tap water and this also yielded some lovely yeasted water after 5 days, with which I created this starter…
 You can literally see the strength of the yeast!
To create loaves I have followed guidelines that I use for my sourdough loaves. So once you’ve cultivated the yeast water, this is my suggestion for then making a loaf like this…

Day one
Strain 150g of yeast water from the jar and mix well with 150g strong white bread flour
Cover the bowl with a plastic bag and leave on the counter for 12-18 hours
Day two
Your ‘starter’ should be lovely and bubbly; add 500g strong white bread flour, 280g water and 1 tsp salt
Squidge it all together roughly so that the flour is all covered, then cover the bowl with the plastic bag again and leave it for an hour
After an hour, perform a series of folds and turns in the bowl; you don’t need to take the dough out and knead it on a surface, just lift a handful of dough from one side and fold it in, turn the bowl, lift and fold, turn the bowl and repeat until you have a lovely smooth ball of dough
Cover again with the plastic bag and repeat two or three more times over the next few hours
After the last folding, place the dough in a banneton sprinkled with rice flour
Cover with a plastic bag and place in the fridge overnight
Day three
Remove the dough from the fridge and leave on the counter for a few hours to come up to room temperature – if your kitchen is very warm maybe only leave it for an hour or so
Preheat the oven to 250C
When it’s ready, turn the dough out into a roaster with a lid, with a layer of baking parchment underneath the dough
Slash the dough
Put the lid on the pan, place it in the oven, turn the temperature down to 220C and bake for 25 mins
Remove the lid, turn the oven down to 180C and bake for 25 mins
Remove and check that if you tap the base of the bread it sounds hollow, and that it doesn’t have any soft areas that look uncooked; if you think it needs a couple more minutes, place it directly on an oven rack to finish off
Cool on a rack for a few hours before slicing – if you slice into it too soon, steam can fill the loaf and render it gummy


 And enjoy!
I have used the water in batches and it continues to be bubbly. I then discarded the apple but next time I would add more water and see if it maintains some strength to use it again. I am also drying out some of the prepared starter to see how it goes, and I’ve saved some bubbly starter to see if it can be re fed like sourdough starter, I’ll let you know about these.
What I can tell you is that my sourdough connoisseur is loving the bread, it’s basically a sourdough if you ask me. It smells and behaves the same way. When the dough went in the oven, you could really smell the apple, but the smell and flavour didn’t continue into the baked loaf. Apparently some people add more of the fruit water to the dough in place of water to add more flavour to the dough, but I haven’t done that yet.
PLEASE NOTE: flours around the world act differently, some require more water, some less. If you know how your flour behaves, keep this in mind. Otherwise, go by feel.
Enjoy!
I hope that everyone at this week’s Fiesta Friday enjoys my fruit yeast water bread, especially co hosts Liz and Jenny…

A loaf (loaves) to grace any show bench as well as any tea-table. Superb!
LikeLiked by 1 person
Thank you kindly 😊
LikeLiked by 1 person
Very interesting and very very cool!
LikeLiked by 1 person
Thank you – I think it would be your kind of thing?
LikeLiked by 1 person
Indeed. I would love to try that.
LikeLiked by 1 person
Ooooh amazing – queen of bread and you have posted instructions from A-Z perhaps I too will have a monster loaf out of oven someday soon – oh wait my oven is too small
LikeLiked by 1 person
Ha ha!
LikeLike
Brilliant! Well done.
LikeLiked by 1 person
Thank you 😊
LikeLiked by 1 person
Awesome! I must try, too bad I’m leaving in a few days…I’ll do it in Tuscany! I’d love to make a loaf like yours! xxx
LikeLiked by 1 person
Good luck! xx
LikeLiked by 1 person
What a lovely and looks delicious loaf of bread!! 🙂
LikeLiked by 1 person
Thank you 😊
LikeLiked by 1 person
Elaine this is wonderful, I am so excited to try it. Does it have to be apple or can you use another type of fruit? The loaf is spectacular.
LikeLiked by 1 person
I believe you can use other fruit, it’s all worth experimenting with..just wash off any possible nasties x
LikeLiked by 1 person
I will probably try an apple can’t wait to make this
LikeLiked by 1 person
I hope you have fun! It’s so exciting seeing the bubbles emerge 😊
LikeLiked by 1 person
I watched a food network show years ago about the famous Sullivan Street bakery here in NYC they have probably the best bread in the city. They use cabbage for the yeast
LikeLiked by 1 person
Cool, interesting! I did think it would be worth trying vegetables too
LikeLiked by 1 person
Yes cabbage gets this white film they use red cabbage and soak the leaves with that film to extract the yeast. So interesting
LikeLiked by 2 people
Oh wow, very interesting indeed
LikeLiked by 1 person
When are you going to write that best selling bread making book? You’re the best and even I think I can follow those instructions. Maybe 😊
Tracey
LikeLiked by 2 people
Ha ha! Thank you, that’s very kind! 😘
LikeLiked by 1 person
Wow, I had never heard of fruit yeast, but then again I can’t bake a loaf of bread to save my life. Although I can certainly eat anyone else’s fresh baked loaf! The bread looks amazing.
LikeLiked by 1 person
Thank you 😊 it’s interesting isn’t it? I just had to have a go!
LikeLike
Wow these breads look like they came out of an artisan baker’s oven!
So interesting to learn about the wild yeast. I’ll definitely keep this in mind and hope to try it soon. Thanks for sharing! 🙂
LikeLiked by 1 person
Thank you 😊😊😊 have fun if you do try it x
LikeLiked by 1 person
I don’t have time these days to go through the lengthy process, but I did so enjoy reading your post and learning something new. I’ll pass it on to my cheffy daughter in law. Just up her alley, Elaine.
LikeLiked by 1 person
Thank you so much, that’s very kind 😀😀
LikeLike
This is so interesting and fascinating Elaine. I had never heard of fruit yeast. Your experimentation was brilliant and the breads just gorgeous. Thank you for this post!
Johanne Lamarche
>
LikeLiked by 1 person
Thank you, Johanne 😘 it was new to me too and I just had to have a go!
LikeLike
The loaf is gorgeous Elaine! And it’s so cool and interesting that it all started with an apple! 😀😀
LikeLiked by 1 person
I think so too, it’s been a great experiment 😊
LikeLiked by 1 person
This is the best thing I have seen today – thank you , thank you for this 🙂 I have been baking a lot of bread at home and have been meaning to try sourdough! This looks even better but I am just not sure I have enough patience to wait as long as a week 😀 😀
LikeLiked by 1 person
Thank you very much, that’s so kind 😀 it’s worth the wait, you need those bubbles!
LikeLiked by 1 person
Elaine, as I mentioned to you “by other venues” I absolutely loved this post, and you are a fantastic bread baker, not only for the challenges you put yourself through, particularly this one with such unusual starter, but because I know how often do you bake – not very many people can say they bake ALL the bread consumed in their home!
truly in awe… and once my life settles a little, I will be playing with apples! HA!
LikeLiked by 1 person
Thank you so much, my lovely Sally x x x
LikeLike
As you know, I do have so much fun making it all, and this was great fun!
LikeLike
What a yummy loaf recipe, thanks so much for sharing I will surely give it a try!
LikeLiked by 1 person
Great, I hope you enjoy it 😊
LikeLike
Amazing Elaine who would’ve believed it!
LikeLiked by 1 person
I know! It’s so cool isn’t it??
LikeLike
What a great idea! Does the fruit flavor the bread at all? Did you notice a difference in the starter made with apples and that made with dates?
LikeLiked by 1 person
I could really smell the apple in the dough when I used it, it was lovely, and there was still a faint aroma when it was baked, but the actual flavour didn’t translate into the cooked loaf. Maybe if you add more of the yeast water to the dough it might, but then I fear that the loaf will just grow and grow!? The date water didn’t have any smell other than sourness! It was a great source of yeast though as you’ll see in my next post x
LikeLiked by 1 person
I read about it a while ago, but you persisted through it all! thanks for another amazing delicious bread recipe! Your loaf of bread looks just stunning & must be utterly delicious too! Yummm!
LikeLiked by 1 person
Thank you! I had great fun with it 😊
LikeLike
You are now my queen of all breads!! Haha!
LikeLiked by 1 person
Ha ha! 😀😀😀😘
LikeLike
Who would have thought – not me for sure! Interesting post and due to my curious nature I hope to try this one day when it is not so hot 🙂
LikeLike
Elaine!! You are a goddess!! This is literally making me want to postpone my vacation so I can try it. Do you have to shake the jar every now and then or can you just let it sit there for a week? I wonder if I can use my organic pears from my backyard instead. I’m assuming it needs the peels since that’s where most of the yeast is.
LikeLiked by 1 person
Thank you 😊😘
You don’t have to shake the jar, and you could very easily just leave the jar for the week to do it’s work. They only concern would be if it builds up so much yeast that it explodes?! I have read that that happened to someone using raisins and the raisins literally showered the entire room! Whether that would happen with your pear, I don’t know, I think the yeast from fruit collates slower than the dried fruit, but I’m no expert.
And yes, your pears should work perfectly and you do need the skin.
Good luck!
LikeLiked by 1 person
Maybe I’ll bring the jar with me 😂
LikeLiked by 1 person
☺️😂☺️
I’ve heard of people taking their sourdough starter on holiday with them!
LikeLiked by 1 person
I am trying an experiment, I didn’t have any dates and apples are not in season and I’m afraid of what is available now so I am seeing if some dried organic fruit that I have will work, I put some golden raisins and peaches in some water to see if it will ferment.
LikeLiked by 1 person
Cool, let me know how it goes xx
LikeLiked by 1 person
I will I got my bread lame and am ready. If this doesn’t work I will get some dates or apples
LikeLiked by 1 person
Yay! The lame is beautiful isn’t it?
The raisins should work absolutely fine, and the yeast will probably collate faster than from fresh fruit x
LikeLiked by 1 person
Going to give it a shake every few days and see how it does, can’t wait to try this!!
LikeLiked by 1 person
Yes the lame is beautiful, I love it and can’t wait to use it!! I didn’t know how much of the dried fruit to put in the jar so guessed hopefully it won’t really matter to much you didn’t appear to use a lot. Hoping after a week I have nice bubbly water.
LikeLiked by 1 person
I just used a handful of dates, no accurate measure. When the bubbles start, it’s so exciting!
LikeLiked by 1 person
My raisins and dried peaches are soaking, Sunday it will be a week. Hoping for good results.
LikeLiked by 1 person
Me too!!!
LikeLike
This is so so cool! Did you try any of the fermented water – I’ve heard that inmates in prison put fruit in the back of the toilets to make booze. Not sure if it’s true or an urban myth AND I haven’t ever tried it, lol!!
LikeLiked by 1 person
Ha ha! How interesting!! I didn’t try it but a friend of mine did and said it tastes like cider 🙂
LikeLike
I made the biga from the apple water, the raisins again didn’t work. I just put some dates in a jar with water to see if I get results. Maybe it was my raisins they just didn’t ferment at all. The apples did beautifully were nice and bubbly and smelled fermented. Question, when I make the bread can I use the rest of the apple water along with the regular water when making the bread dough?
LikeLiked by 1 person
I really hope it works well for you 🙏🏻🙏🏻🙏🏻
I believe you can add the rest of the water as water replacement. I used mine again and again to make more starters x
LikeLiked by 1 person
Beautiful Elaine! I just get my own starter using pineapple juice. It sure wasn’t as active as yours.
LikeLiked by 1 person
Thank you 😊😊😊
LikeLiked by 1 person
Pingback: An update on my fruit yeast water bread… | foodbod
Its curious how the fates align. Just yesterday I joined the Milk The Funk fb site – a group dedicated to making beer out of wild yeasts. I was just beginning to wonder about the whole thing when your post arrived! I’m quite excited to try this – and it makes me think about a couple pf things: One is how people have suggested doing something like this in order to make sourdough starter (you don’t have to – the yeasts in the flour are quite sufficient); 2) you therefore are definitely making sourdough – no doubt about it. 3) it seems that the main difference between this and a fermentation process (i.e. saurkraut) is that there is no salt. I can see this as logical as the salt would inhibit the yeast development, and also you are using it within the week, before molds develop. There’s so much to learn, and this is really technical stuff too. I’m sure I’ll be blogging about it soon too. Looking forward to further updates on your journey with wild yeasts!
LikeLiked by 1 person
Thank you so much for your comment – it is funny how these things happen isn’t it?? I hope you have fun experimenting with the yeast water, I’m loving it, and it is now a constant sight in my kitchen to see jars of water and fruit doing their stuff! I published another post this week about more of my experimentation in case that’s of interest too?
Please do let me know how you get on 🙂
LikeLike
My thoughts go right now to trying apple and from that developing on one hand an sd starter for baking (with flour) and on the other using malt extract to develop a yeast for both apple cider and beer. We’ll see. Have you considered using this for apple cider production?
LikeLiked by 1 person
I haven’t because I wouldn’t drink it, but a friend of mine tried the apple yeast water he made and he said it tasted nice, just like cider
LikeLike
Pingback: The yeast connection | homecookexplorer
Pingback: Yeast connection part 2 | homecookexplorer
Pingback: Making your own apple cider vinegar… | foodbod
Hi Elaine….followed your recipe…the fruit yeast water works out just amazing. My bread turned out ok.I think I may have over proved it. Also the crust was not as had and lacked colour too…but great crumb texture and flavour too…This is my first attempt and just wanted to thank you for this magical recipe for the fruit yeast water n bread!! I will post some images on Instagram and tag you on the same…I must say I’m hooked on this an d will limit my usage of commercial yeast;))
LikeLiked by 1 person
That’s wonderful, I’m so glad you it went well and you’re happy with the outcome 😊😊😊😊 thank you so much for letting me know x
LikeLiked by 1 person
Thank you for sharing your experience. I notice from the pictures you use apples with skin on to make the yeast water. Can I skin the apples? Its hard to get organic apples here.
LikeLiked by 1 person
You could skin the apples but ideally I’d keep the skins on as they produce a lot of the yeast. I didn’t use organic apples in all of my experiments. I did give them all a good wash before I used them though.
LikeLike
Hei from Norway
When you prepare the apples water yeast, is the glass jar close tight or loosely? And what about the gas that is formed from the fermentation process? Do you open the jar during the 5 days?
Thanks
LikeLiked by 1 person
Hi
I kept the jar closed, but I did open it once a day to release any gases. You can just keep it loosely closed if you prefer…
LikeLike
Thanks for sharing this excellent method. I’ve been wanting to try sourdough but the regular effort to feed it kept me at bay. Now, the fruit water sounds very doable as it is simple and I am familiar with enzyme from fruit waste.
LikeLiked by 1 person
Great! I hope it works well for you and you enjoy the bread
LikeLike
With COVID here and no yeast, I am trying this as I write this. I’m now on the first hour of the processes so Im waiting one hour before folding. I am trying this with yeast water from apples and another loaf with yeast water from grapes. I’ll let you all how it goes.
LikeLiked by 1 person